How to paint bathroom vanity cabinetes
Advices

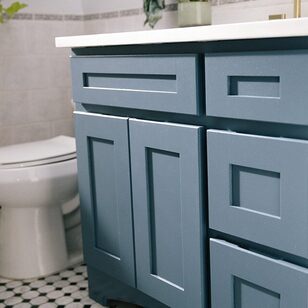
If your bathroom vanity cabinets are looking a bit tired, or you just want to give your bathroom an updated color, a fresh paint job may be just what you need.
Painting bathroom cabinets is a fairly easy way to breathe new life into your space. It is also a less expensive option than replacing your bathroom vanity, and gives you greater flexibility in terms of color choice and sheen. Choose a great bathroom paint color, then follow our step-by-step guide.
Supplies Checklist: Painting Bathroom Vanity Cabinets
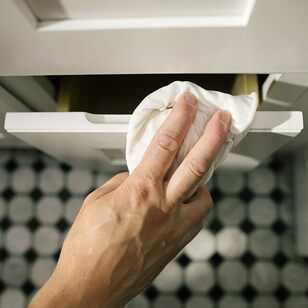
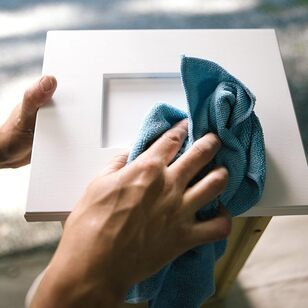
Step #1: Clean and Prep Your Space
Remove all items from your bathroom vanity and thoroughly clean the cabinets and the surrounding area using a damp cloth and degreaser if necessary (if you use a degreaser, make sure you rinse with fresh water afterward to keep the surface contaminant-free). Lay your drop cloth on the floor around your workspace to protect it from sanding dust, errant paint, etc.
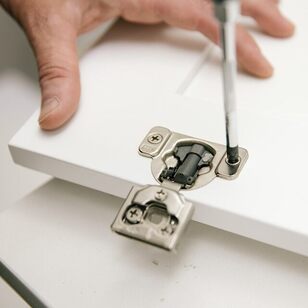
Step #2: Remove Drawers, Doors and Hardware
Remove drawers and doors from the cabinet frame. Using your screwdriver, remove all hardware, including hinges, knobs and pulls. Be sure to place all screws and hardware in a safe place and label the back of each door and drawer to ensure you put them back in the correct spot when you’re ready to reassemble the piece.
Helpful Tip
Label the backs of doors and drawers in an area that will not be visible when the project is finished, usually the area behind the hinge.
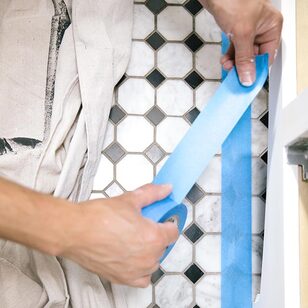
Step #3: Tape It Up
Use painter’s tape to cover any surfaces on or near your bathroom vanity that you don’t want to paint, such as any nearby walls or the underside of the vanity countertop.
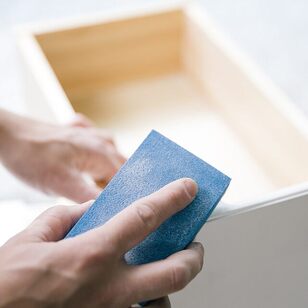
Step #4: Start Sanding
If your bathroom vanity is finished (already painted or coated), sand the drawers, doors and outer cabinet frame with your sanding block with medium-grit (150) sandpaper to remove the clear coat or any uneven paint. When the surface is smooth, switch to your fine-grit (220) sandpaper for a light sanding. Sand with the grain of the wood, not against it.
Helpful Tip
If you’re working with an unfinished bathroom vanity, you’ll only need to do a light sanding with your fine-grit (220) sandpaper.
Step #5: Clean the Surface
After sanding, vacuum the sanding dust debris, then use a microfiber towel to remove any residual dust. With a damp cloth, thoroughly clean the surface of your bathroom vanity and all drawers and doors.
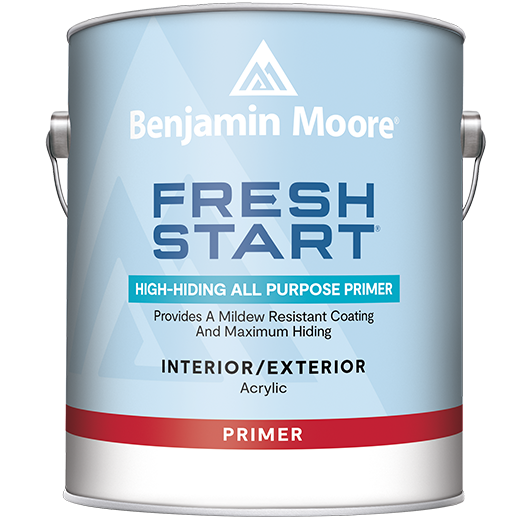
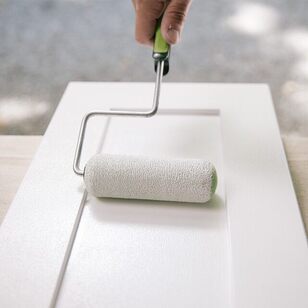
Step #6: Prime
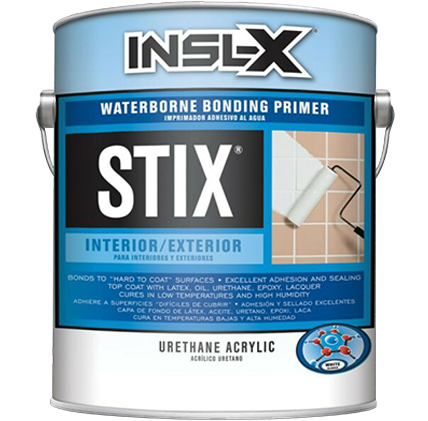
Using your large paintbrush or 4” roller, apply an even coat of STIX® to the cabinet frame and each drawer and door. Let dry.
Helpful Tips
• If you’re going from a dark color to a light color, prime the bathroom cabinets twice. Your results may vary depending on the type of wood you are painting.
• If you want to save time, consider leaving the interior cabinet frame, the inside of the drawers or the backs of the doors unpainted.
• Lay drawers and doors flat for priming and painting to avoid drips and sagging for a uniform finish.
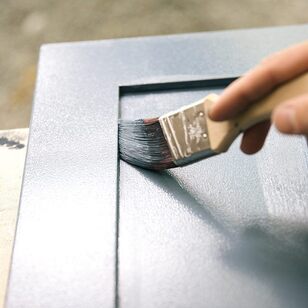
Step #7: Paint
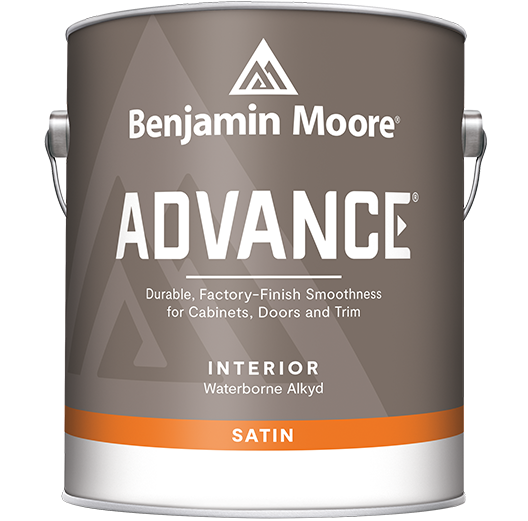
Once the primer is completely dry, use your roller or large paintbrush to apply ADVANCE® Interior Paint evenly to every surface. Switch to your smaller paintbrush to cover any details and smooth out your painted corners or edges.
Helpful Tips
• The best paint for a bathroom vanity is a waterborne alkyd paint like ADVANCE®, which offers a smooth, furniture-like finish.
• If you’re working with laminate bathroom cabinets, follow the sanding advice above for finished cabinets, and consult our guide to painting laminate furniture.
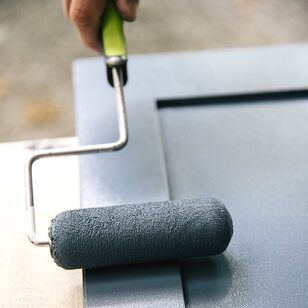
Step #8: Let Dry and Repeat
Once the first coat is dry, repeat the painting process with a second coat of paint and allow the piece to dry completely.
Helpful Tip
Read all paint and primer instructions carefully, as dry time (the length of time before applying a new coat) and cure time (the length of time before you can return your painted surfaces to daily use) may vary. You can probably recoat after only a few hours, but you might have to wait a few days to put drawers and doors back together.
Step #9 Reassemble Your Bathroom Vanity
Once the paint has cured, reattach any hardware you removed and replace each door and drawer in its correct location.
Helpful Tip
Got leftover paint? Try painting other indoor furniture for your next project.